SPO Spring Toggle for use in Plasterboard
Self-acting anchor
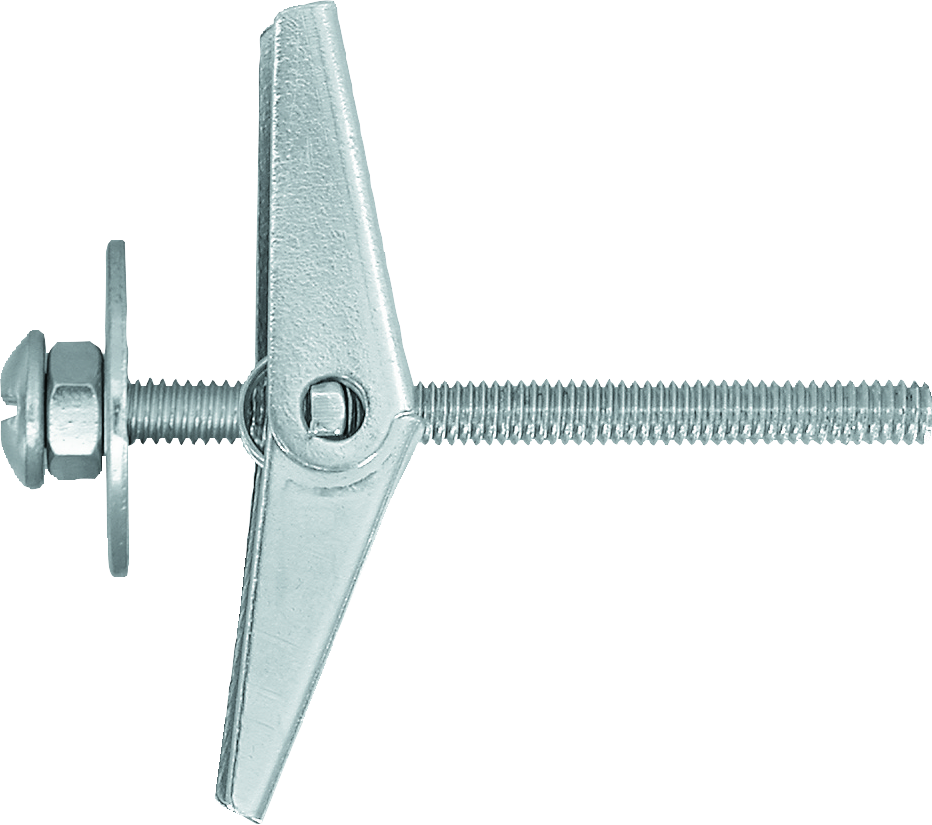

Features and benefits
- Long screw of the toggle fixing allows use in boards of various thicknesses and with thick attachements, offering maximum flexibility.
- Wide transition beams ensure a good load distribution allowing high load-bearing capacity
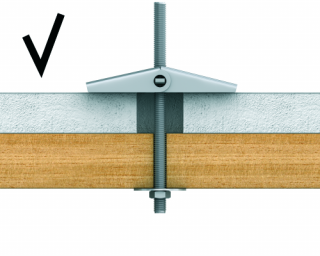
- Allows easy installation for fastenings behind thick panels in very flat cavities.
- Self-acting anchor with easy installation.
- Suitable for overhead applications
Product information
Product Code |
Screw type |
Plug |
Screw |
Fixture |
Plug |
Quantity |
|
Radius |
Diameter |
Length |
Hole diameter |
Diameter |
|||
a |
d |
L |
df |
D |
|||
- |
[mm] |
[mm] |
[mm] |
[mm] |
[mm] |
[pcs] |
|
SPO-03050 |
metric screw |
20 |
3 |
50 |
12 |
10 |
- |
SPO-05050 |
metric screw |
25 |
5 |
50 |
14 |
12 |
- |
SPO-05080 |
metric screw |
25 |
5 |
80 |
14 |
14 |
- |
SPO-06060 |
metric screw |
30 |
6 |
60 |
18 |
18 |
- |
SPO-06080 |
metric screw |
30 |
6 |
80 |
18 |
18 |
- |
R-SPO-03050 |
metric screw |
20 |
3 |
50 |
12 |
10 |
100 |
R-SPO-05080 |
metric screw |
25 |
5 |
80 |
14 |
14 |
100 |
R-SPO-06060 |
metric screw |
30 |
6 |
60 |
18 |
18 |
50 |
R-SPO-06080 |
metric screw |
30 |
6 |
80 |
18 |
18 |
50 |
R-SPO-05050 |
metric screw |
25 |
5 |
50 |
14 |
12 |
100 |
For use also with
-
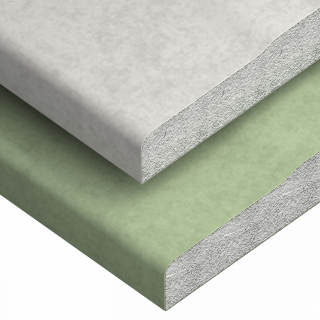
Plasterboard
-
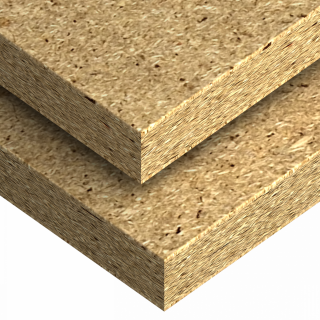
Chipboard
-
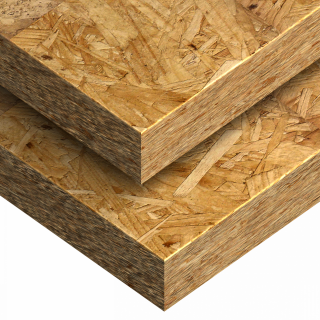
Oriented Strand Board
-
PVC Profile
Applications
- Light shelving
- Brackets, grips and hooks
- Paintings
- Lamps
- Lighting
- Mirrors
- Shelves
- Other decorative elements
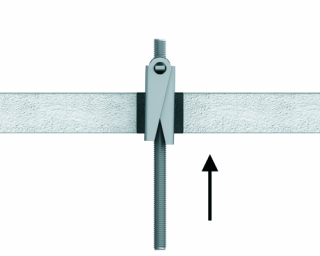
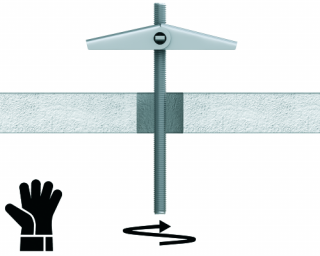
Installation guide
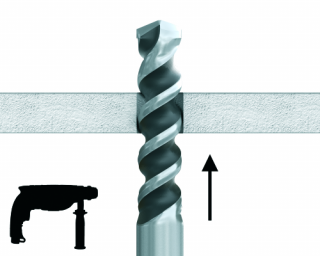
- Drill a hole of the required diameter.
- Compress the 'wings' and push the fixing into the hole.
- While tightening the screw, pull the fixture out from the wall or ceiling to prevent the 'wings' spinning freely.
Installation data
Substrate |
Plasterboard min. 12.5 mm |
||
Hole diameter in substrate |
d0 |
[mm] |
14 |
Min. installation depth |
hnom |
[mm] |
9.5 |
Min. substrate thickness |
hmin |
[mm] |
9.5 |
Min. spacing |
smin |
[mm] |
100 |
Min. edge distance |
cmin |
[mm] |
100 |
Fixing diameter |
d |
[mm] |
4 |
Board thickness |
tfix |
[mm] |
9,5 |
Contact us to get information about product availability and its price