RPP-PVC-W Polyurethane Gun Foam for PVC - Winter version

Features and benefits
- Low Expansion formulation (low growth) enables applications to narrow gaps, guarantees high yield (no wastes) and eliminates the risk of frame deformation
- Low-pressure formulation eliminates risk of frames deformation and ensures proper gaps filling
- Ideal for installation, sealing and soundproofing for PVC profiles
- Excellent sound and thermal insulation properties.
- Cutting time 40 min after apllication
- Excellent adhesion to most materials and substrates used in construction.
- Resistant to mould and fungi.
- Prolongs the construction season - possible work at low temperatures
Base material
-

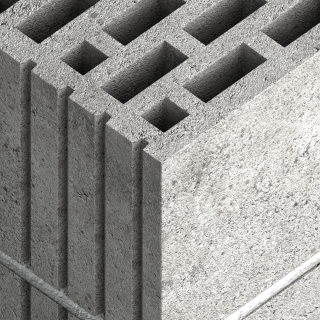
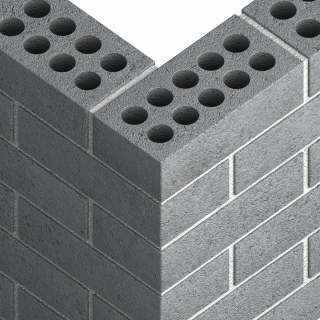
Concrete
-
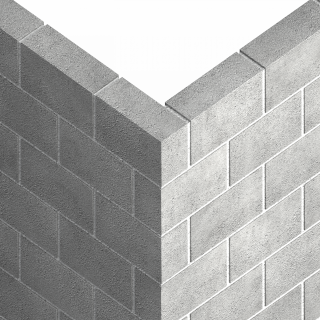
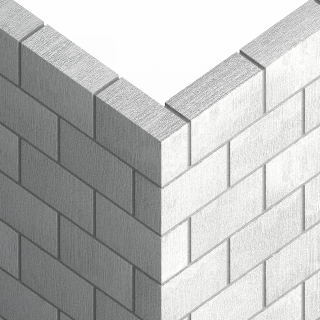
Masonry
-
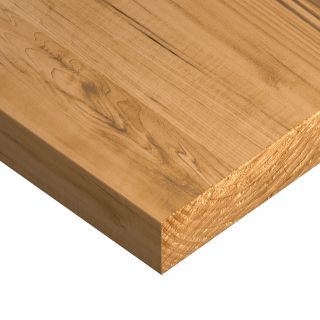
Wood
-
Metal Sheet & Profiles
-
PVC Profile
-
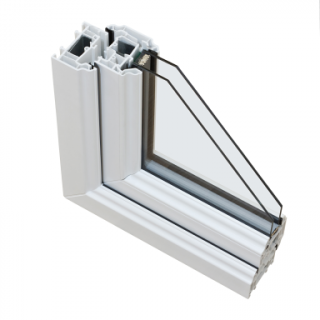
Window Profile
For use also with
-
Solid Concrete Block
-
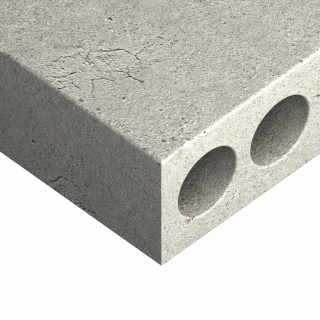
Hollow-core Slab
-

Concrete Slab
-
.png)
Aerated Concrete Block
-
Lightweight Concrete Block
-
Hollow Lightweight Concrete Block
-
Silicate Blocks
-
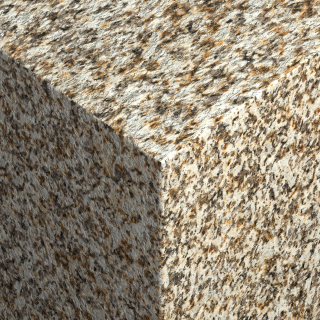
High-Density Natural Stone
-
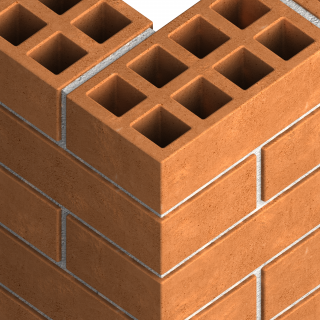
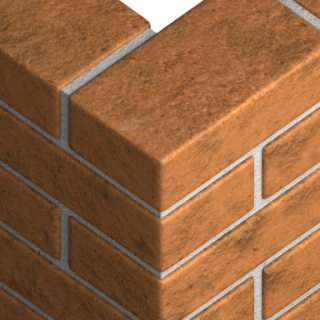
Hollow Brick
-
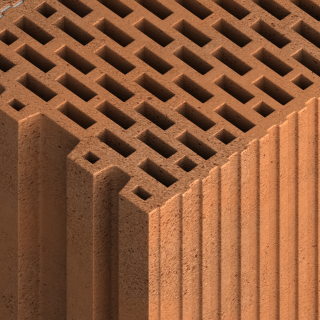
Vertically-perforated Clay Block
-
Hollow Sand-lime Brick
-
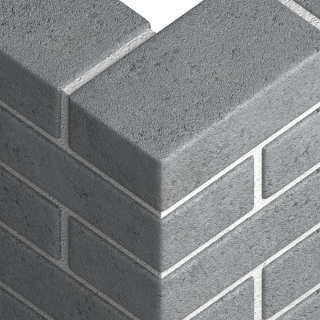
Solid Brick
-
Solid Sand-lime Brick
-
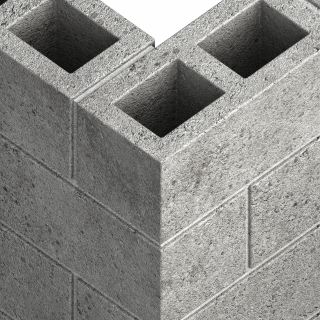
Ceramic Hollow Block
-

Gypsum Fibreboards
-
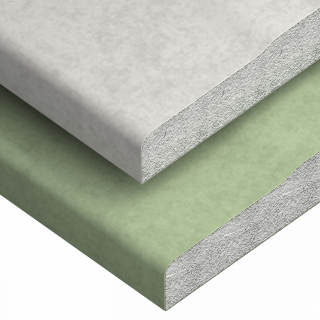
Plasterboard
-
Chipboard
-
Oriented Strand Board
-

Stainless Steel
Applications
- Installation of windows and door
- Precise filling and sealing in the wide range of sizes gaps
- Thermal insulation of plumbing and central heating
- Installation & sealing of window sills
- Thermal insulation of roofing (including flat roofs)
- Filling gaps in the thermal insulation of buildings
- Filling frame structures
- Fixing pipes and cables in HVAC systems
- The application of PU foam: installation of windows and doors, filling, sealing, insulation in the construction industry
- Installation of windows and door
- Easy fixing of door and window frames - timber, metal or PVC
Installation guide
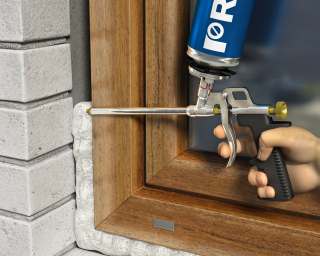
- Wear protective gloves. Ensure surfaces are free from dust, dirt or debris.
- Remove the frost from the working surface.
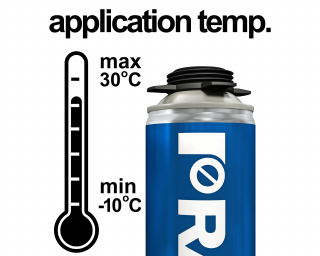
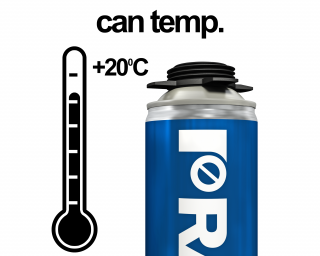
- Before using, make sure that the can temperature is above zero (optimum +20°C). Application temperature from -10°C up to +30°C.
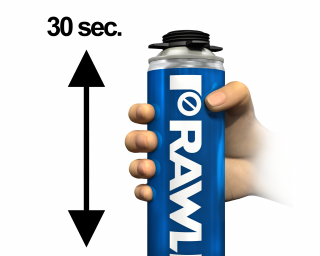
- Shake can vigorously for 30 seconds to mix properly components.
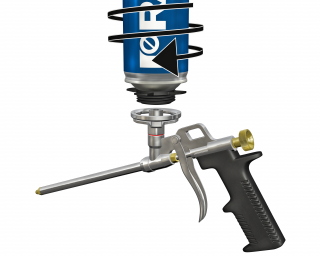
- Screw gun onto the can. Hold can upside-down during application.
- Fill gaps from down to up, zigzag motion, alternating from one wall to the other. Fill gaps to approximately 60 % volume. Max. wide of the gap 3-4 cm. Wider gaps should be applied after hardening of the previous layer.
- After full curing, cut the excess foam with a knife and protect it from UV exposure by coating with plaster, paint, acrylic or silicone.
- In the event of a stoppage exceeding five minutes duration, wipe the nozzle with cleaner for foam applicator.
- After removing the applicator gun from the can, wipe down the nozzle and gun (internal and external surfaces) using a cleaner.
Contact us to get information about product availability and its price