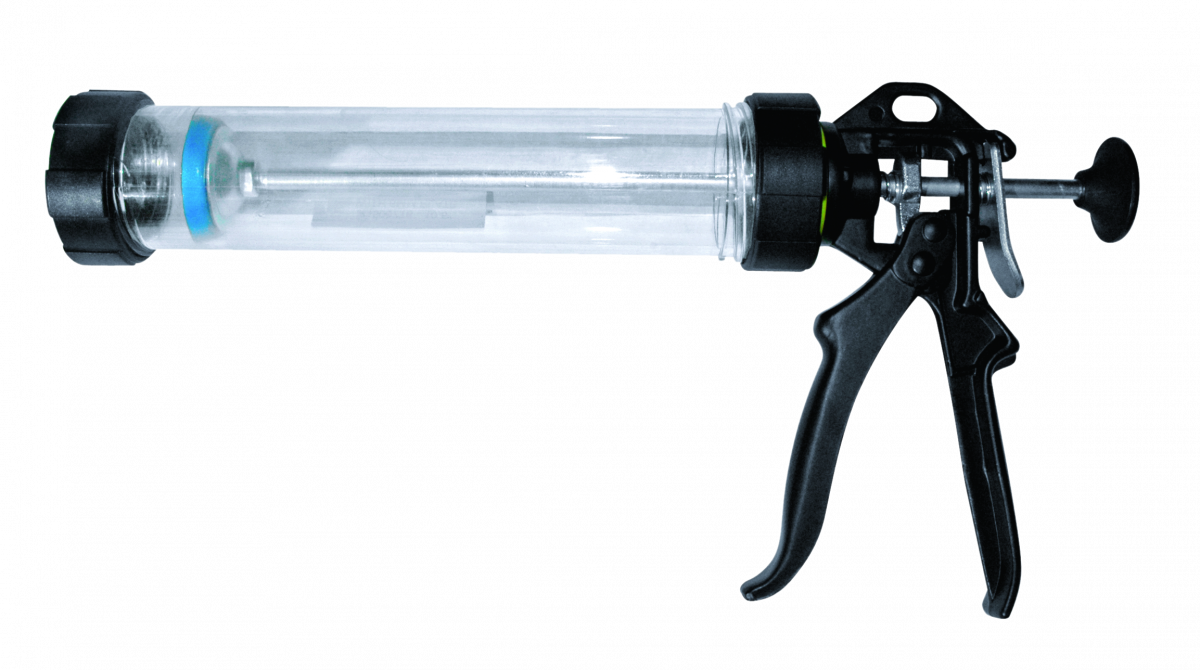
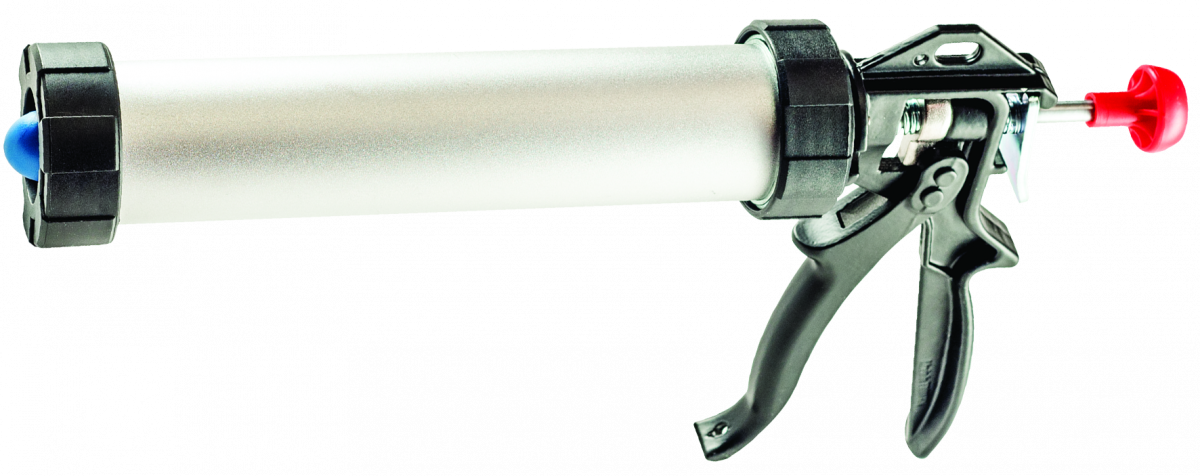
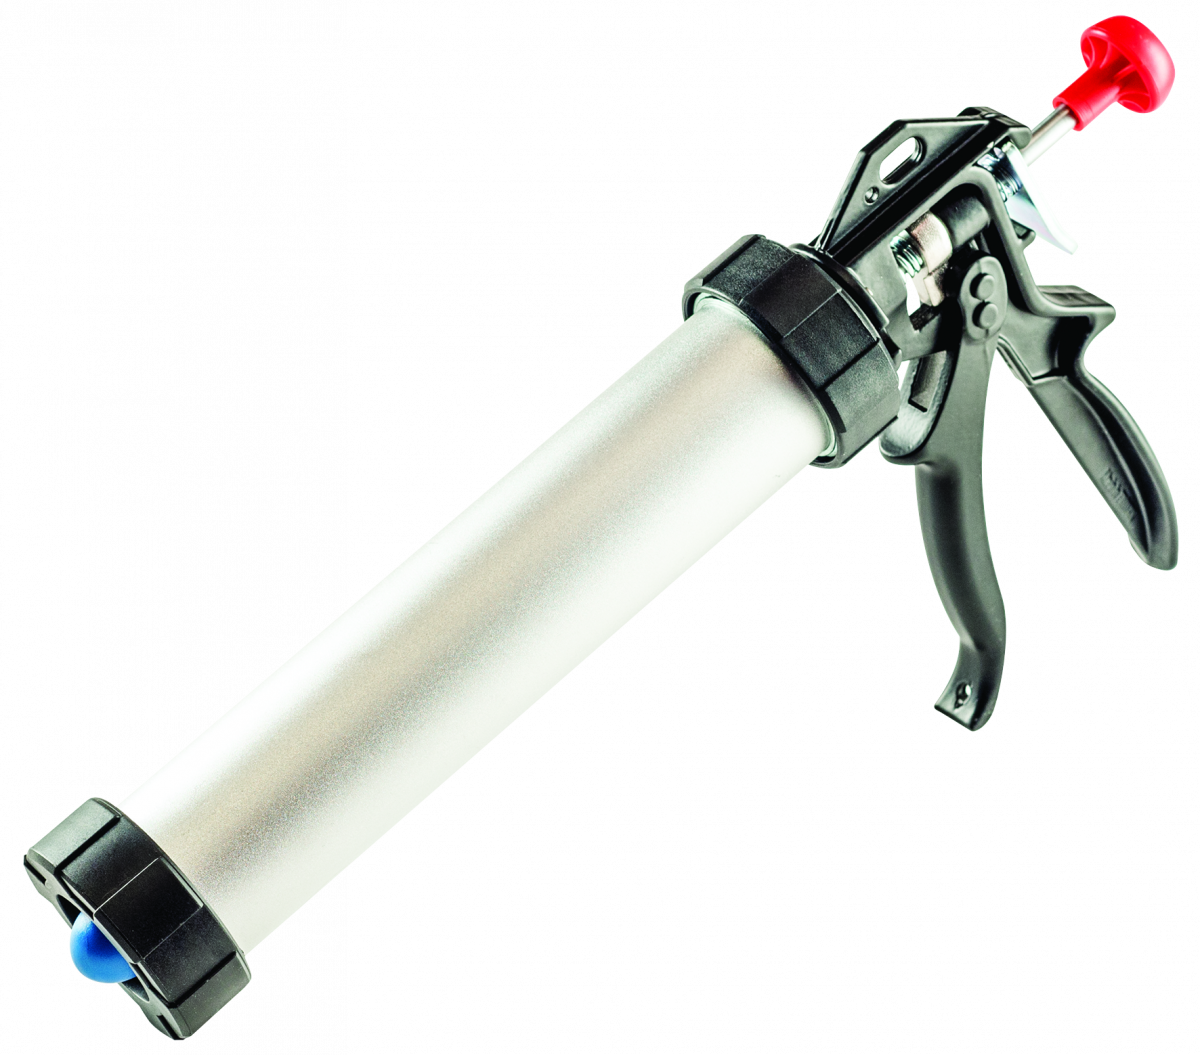
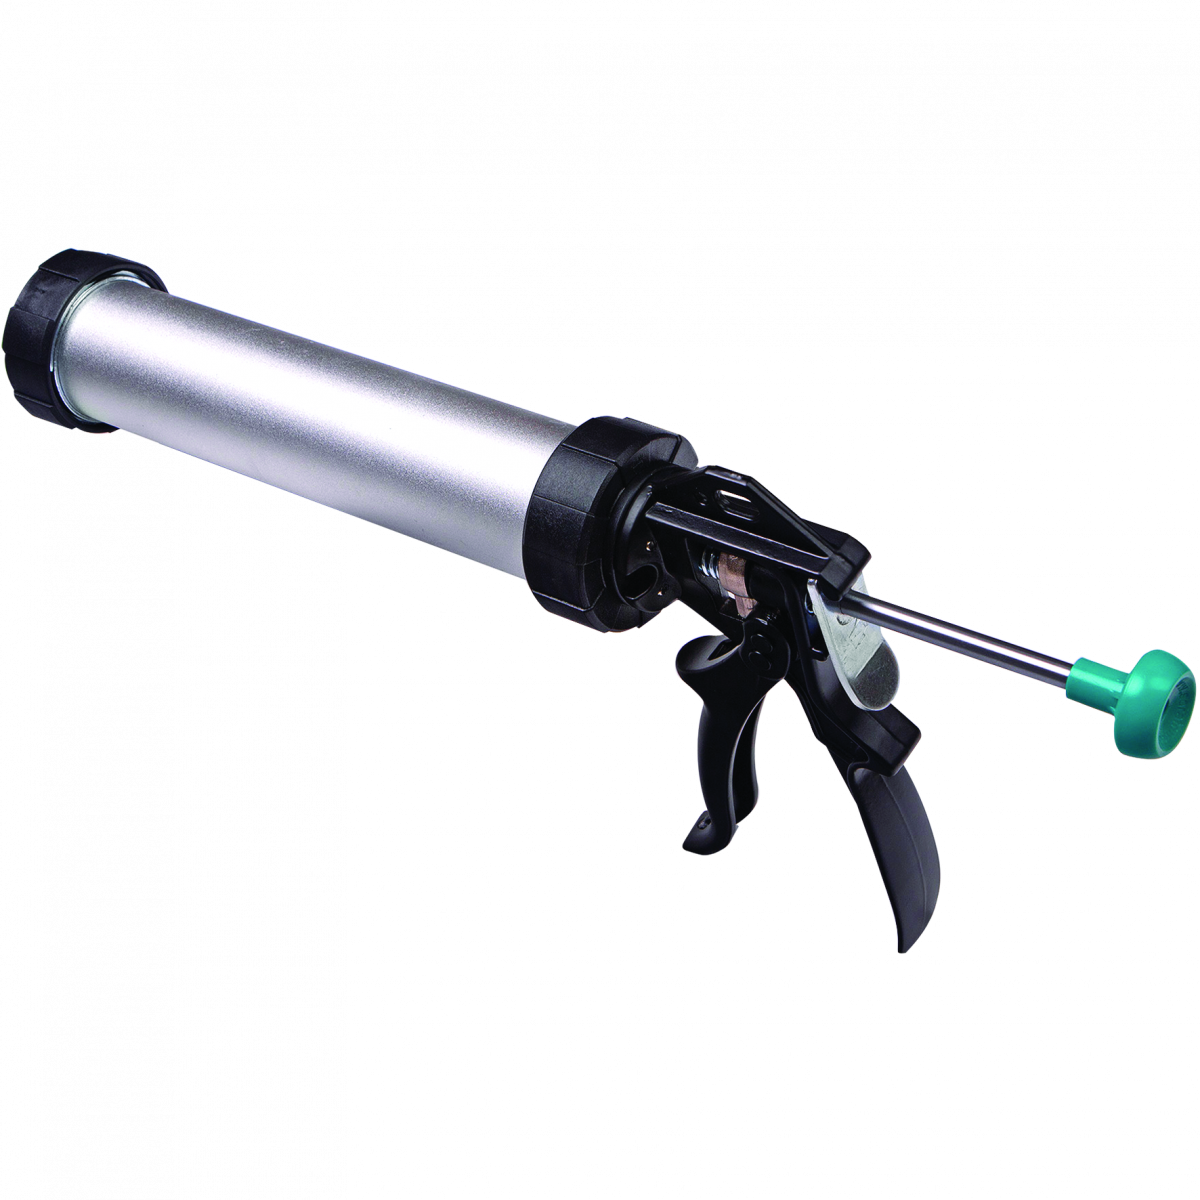
R-GUN Dispenser Gun CFS+
Professional dispensing system for bonded anchors in 300 ml foil loads
Features and benefits
- Manual operation - no need for external power supply
- Type of gun used for anchoring strictly depends on the type of cartridge
- Fast and effortless resin injection
- Convenient dispensing tool for a range of situations
- Robust design for all jobsite conditions
Product information
Index |
Box weight |
Outer weight |
EAN |
kg |
kg |
Applications
- Gun dedicated for 300 ml CFS+ system
- For use in a wide range of fastening applications in concrete and solid masonry structures
Installation guide
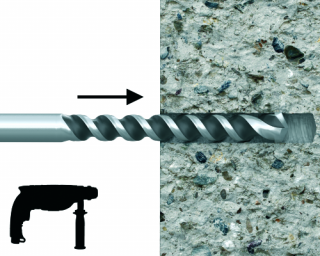

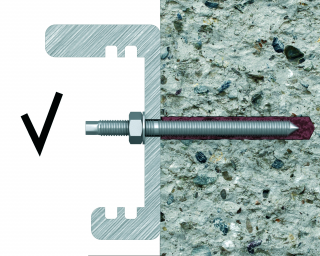
- Drill hole to the required diameter and depth for threaded rods size being used.
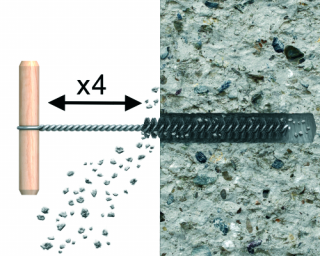
- Clean the hole thoroughly with brush and hand pump at least four times before installation.
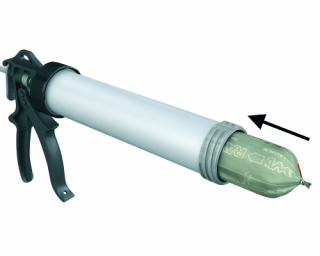
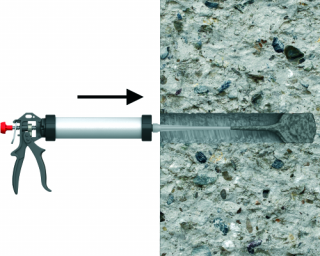
- Insert foil into gun and attach nozzle.
- Dispense to waste until even colour is obtained.
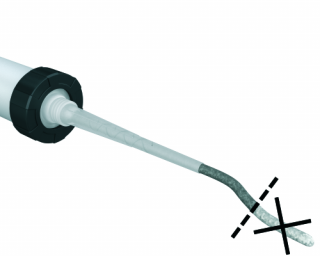
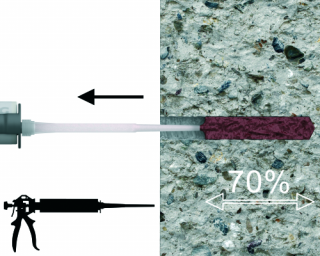
- Insert the mixer nozzle to the bottom of the drill hole and inject resin, slowly withdrawing the nozzle as the hole is filled to 70% of its depth.
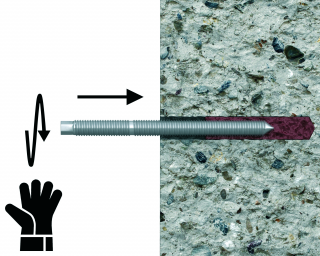
- Immediately insert the rebar, slowly and with slight twisting motion. Remove any excess resin around the hole before it sets and leave it undisturbed until the curing time elapses.
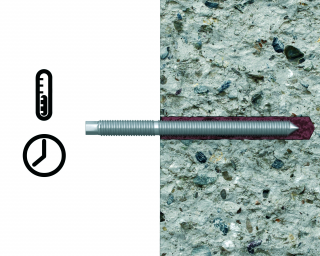
- Attach fixture and tighten the nut to the required torque.
Contact us to get information about product availability and its price